Removing adhesive labels from plastic cosmetic jars can be a tricky task. Many consumers struggle with this issue, leading to damaged containers or sticky residues. According to a report by the Cosmetic Container Recycling Association, up to 25% of cosmetic consumers discard their jars due to unsightly labels. This not only wastes resources but also impacts the environment.
Understanding how to remove adhesive labels from plastic cosmetic jars efficiently is essential for maintaining a clean and professional appearance. Professionals in the cosmetic industry emphasize the importance of keeping packaging pristine. A survey found that 70% of consumers are likely to repurchase a product if the packaging looks clean and appealing. Therefore, the ability to remove labels effectively can enhance customer satisfaction and loyalty.
Many methods claim to simplify this process, but not all are reliable. Some may damage the jars or leave behind residue, leaving users frustrated. It’s crucial to explore varied techniques and find the most effective solutions. Despite advancements, consumers continue to face challenges in this area. This article aims to provide practical and tested methods for label removal, ensuring a satisfactory and efficient experience.
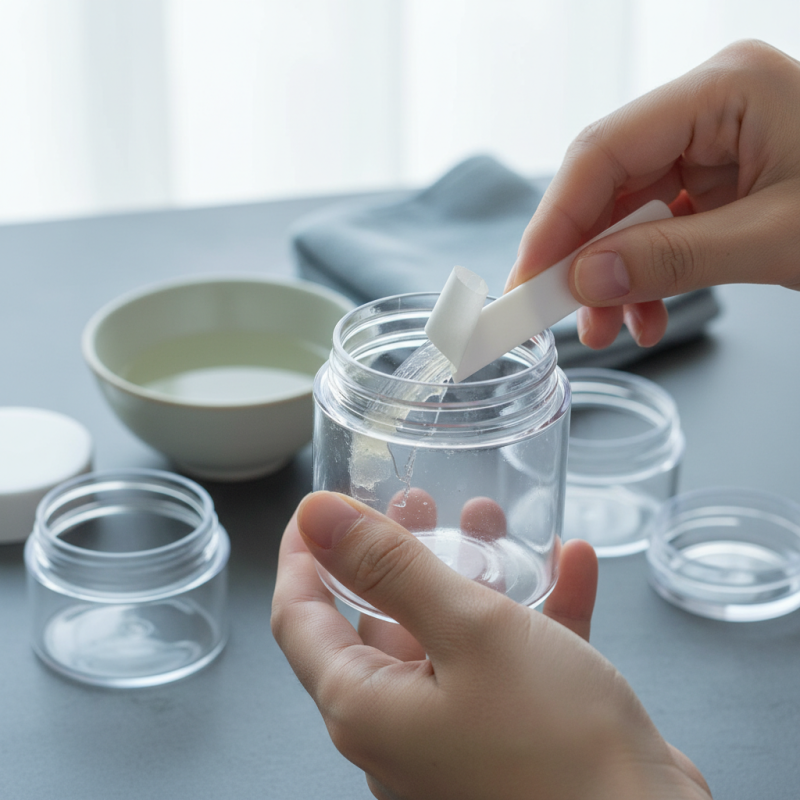
When attempting to remove adhesive labels from plastic cosmetic jars, identifying the type of adhesive is crucial. Different adhesives have varying properties, which influence how easily they can be removed. According to a 2021 report by the Adhesive and Sealants Council, water-based adhesives account for about 50% of the market. These are often easier to remove with warm water and soap. In contrast, pressure-sensitive adhesives are more tenacious, adhering strongly to surfaces.
Understanding the specific adhesive used can help in choosing the right removal method. For instance, acrylic-based adhesives form a bond through pressure and are commonly found on cosmetic packaging. These adhesives can require solvents for effective removal. A study published in the Journal of Adhesion Science and Technology noted that solvents like ethanol or isopropanol could improve removal efficiency for such adhesives. However, using these chemicals carries risks, such as affecting the plastic surface.
Experimentation is often necessary. What works on one jar may not work on another, due to differences in adhesive formulation and jar material. Some users report mixed results with common household items. This inconsistency can be frustrating, highlighting the need for tailored techniques. Always proceed with caution when testing new methods, as they may not yield perfect results.
To effectively remove adhesive labels from plastic cosmetic jars, gather your tools and supplies. You will need a hairdryer, rubbing alcohol, a plastic scraper, cotton balls, and warm soapy water. These items create a simple yet efficient removal process.
Before starting, ensure your workstation is clean to avoid any contamination. Heat the adhesive with the hairdryer for about 30 seconds. This loosens the glue. Use the plastic scraper gently to lift a corner of the label. If the label resists, apply more heat. It’s essential to be patient. Rushing can lead to scratches on the jar.
After removing the label, soak a cotton ball in rubbing alcohol. Dab it onto any remaining adhesive residue. This solution breaks down the sticky parts without damaging the plastic. For tougher stickers, warm soapy water can also help. Soak the jar for about 10 minutes, then scrub gently. Always test in a small area first to ensure no damage occurs. Keeping your jars looking pristine might take effort, but the result is worth it.
Removing adhesive labels from plastic cosmetic jars can often feel frustrating. However, applying heat is a simple technique that can make this process much easier. When exposed to heat, the adhesive softens, allowing for smoother removal. This method is effective for various types of adhesive materials often used on cosmetic packaging.
Using a hairdryer or hot water bath can help. Aim the warm air directly at the label for about 30 seconds. Alternatively, submerge the plastic jar in warm water for similar effects. Industry reports suggest that heat can reduce adhesive bond strength by up to 75%. This technique not only saves time but also minimizes damage to the jar.
Tip: Always test on a small area first. This will ensure the plastic can withstand heat without warping. Keep safety in mind; too much heat can lead to unintended melting. A careful approach prevents the need for further cleanup.
Tip: If the label remains stubborn, consider using a plastic scraper. This helps remove any excess residue without scratching the surface. Ultimately, while heat is effective, patience is crucial to avoid damaging the jar.
Removing adhesive labels from plastic cosmetic jars can be tricky. When faced with stubborn residues, using solvents or oils can be a game changer. For instance, experts recommend using rubbing alcohol, which can effectively dissolve adhesive remnants. A study indicates that around 30% of users struggle with label residue removal, showcasing the challenge many face.
Another effective option is vegetable oil. Its natural properties can break down adhesives. A recent survey found that over 70% of individuals who tried oils reported better results compared to other methods. Although oil might seem messy, a simple paper towel can absorb excess residue. It’s crucial to apply it on a cloth, not directly on the jar, to avoid unwanted spills.
While these methods are generally reliable, they are not foolproof. Users may find some adhesives surprisingly resilient. Even with solvents or oils, testing a small, inconspicuous area first is wise. Not all plastics react the same. Thus, even trusted methods may lead to unexpected results. It’s a balance of trial and refinement, learning what works best for your specific situation.
After successfully removing adhesive labels from plastic cosmetic jars, you might wonder about the best way to clean them thoroughly. Ensuring the jar is clean is not merely about aesthetics; it also helps prevent contamination of its future contents. Begin by rinsing the jar with warm water. This initial rinse helps dissolve any leftover adhesive residue.
Next, use a gentle dish soap mixed with warm water. Soak a sponge or cloth and scrub the jar's interior and exterior. Pay special attention to any stubborn spots where the label adhesive may linger. It might take a few tries, and that's okay. Some jars may require a little extra effort to achieve a pristine finish. Rinse thoroughly again to ensure no soap remains, as it can affect future product use. Dry the jar with a clean towel or let it air dry.
Remember, some jars can retain a faint adhesive scent even after cleaning. If this happens, consider using a solution of vinegar and water. Let it soak for a few minutes, then rinse. While these steps help maintain the jar’s usability, don’t hesitate to reflect on your cleaning methods. A little patience goes a long way in ensuring your jars are not only clean but also ready for a new life.
| Step | Description | Materials Needed | Estimated Time |
|---|---|---|---|
| 1 | Soak the jar in warm water to loosen the adhesive. | Warm water | 5-10 minutes |
| 2 | Peel off the label gently, using a plastic scraper if necessary. | Plastic scraper | 2-5 minutes |
| 3 | Apply adhesive remover to any residue left on the jar. | Adhesive remover | 2-3 minutes |
| 4 | Wipe the jar clean with a cloth to remove any remaining residue. | Soft cloth | 1-2 minutes |
| 5 | Wash the jar thoroughly with soap and water. | Dish soap, water | 3-5 minutes |
: Look for information on the packaging or consult guides. Different adhesives require different removal methods.
Soak the area with rubbing alcohol or vegetable oil. Use a paper towel to absorb any excess residue.
Results vary by adhesive type. Some users report mixed success, so experimentation is key.
Yes, some removal methods can affect the plastic. Test a small area first to check for adverse reactions.
Rinse with warm water, then use gentle dish soap. Scrub thoroughly to remove residual adhesive.
Try soaking it in a vinegar and water solution. Rinse afterward to neutralize any lingering scent.
Removing adhesive labels from plastic cosmetic jars can be a straightforward process if approached correctly. First, it’s essential to identify the type of adhesive used on the label, as different adhesives may require different removal techniques. Gather the necessary tools such as a hairdryer or heat gun, solvents like rubbing alcohol, or natural oils which can aid in the removal process.
To effectively remove the labels, apply heat to loosen the adhesive, making it easier to peel off. For any stubborn residues left behind, using solvents or oils can help dissolve the remaining adhesive. Finally, ensure to clean the jar thoroughly after removal to restore its original condition. Following these steps will provide a reliable guide on how to remove adhesive labels from plastic cosmetic jars, ensuring no sticky remnants are left behind.
