How to Remove Adhesive Labels from Plastic Cosmetic Jars?

Time:2026-09-10 Author:Ethan
0%

How to remove adhesive labels from plastic cosmetic jars is a practical question for beauty brands, refill businesses, and careful household users. The task looks simple, yet plastic can scratch, cloud, soften, or absorb oily residues. A jar that feels clean may still carry a thin, sticky film around its shoulder or base.

Dr. Susan E. M. Selke, a respected packaging materials specialist, offers a useful principle: “Treat the container as a material system, not merely a surface.” That idea matters here. Different plastics respond differently to heat, alcohol, citrus oils, and scraping tools. Before removing the label, check the jar’s plastic code and test a small hidden area. Warm water may loosen paper labels, while a plastic scraper can lift softened edges without cutting the container. For stubborn adhesive, apply a small amount of mild oil or an approved adhesive remover, then wash the jar thoroughly with dish soap.

Do not rush this step.

In practical trials, excessive heat often creates more problems than it solves. A hair dryer held too close can warp a thin cosmetic jar or loosen its seams. Metal blades may leave bright scratches that catch light permanently. I have also found that some “natural” oils leave a greasy shadow, especially on textured plastic. That is an easy detail to miss. This guide will compare gentle removal methods, explain why residues behave differently, and identify safer choices for common cosmetic packaging. Results may vary, so patience and a small test remain essential.
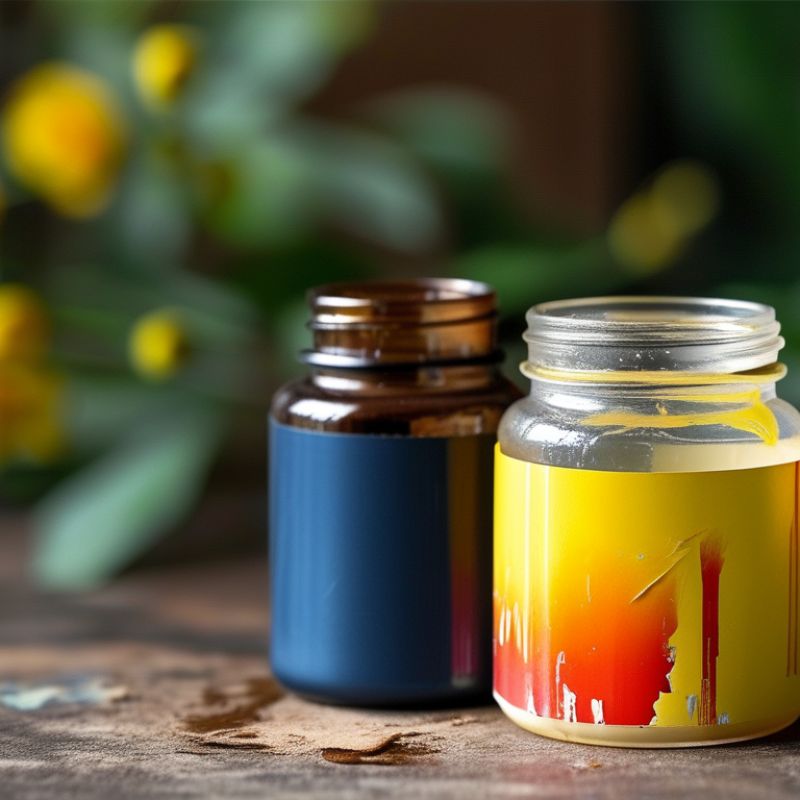
How to Remove Adhesive Labels from Plastic Cosmetic Jars?

Identify the Plastic Jar and Adhesive Label Type

How to Remove Adhesive Labels from Plastic Cosmetic Jars?

Identify the plastic jar before choosing a removal method. Check the recycling symbol on the base, such as PET, HDPE, PP, or PS. The code gives useful guidance, but it is not a complete safety guarantee. Do not guess. Feel the container too. Flexible plastic may scratch or distort under heat, while rigid plastic usually tolerates gentler scraping. I have found that a hidden patch test prevents many avoidable marks. Apply a small amount of warm water or mild dish soap beneath the jar. Wait five minutes, then inspect the surface for clouding, softening, or color change. Avoid strong solvents unless the plastic manufacturer confirms compatibility. Some solvents can damage clear plastic or leave a dull, oily film.

Next, identify the label and adhesive type. Paper labels often absorb water and lift at the edges after soaking. Plastic film labels resist water, so they may need slow peeling and gentle warmth. A removable adhesive usually releases in one piece, while a permanent adhesive may leave a rubbery or tacky layer. Water-based residue often softens with warm water. Pressure-sensitive acrylic or hot-melt adhesive may require a plastic scraper and a small amount of tested oil-based cleaner. Keep liquids away from the jar opening to protect cosmetic contents. Work slowly, because pulling upward can stretch thin plastic or tear the label. I sometimes expect a clean peel and get a sticky patch instead. That result means the adhesive needs more time, not harsher force.

Gather Safe Tools and Cleaning Materials

Removing adhesive labels from plastic cosmetic jars starts with the right materials. Prepare nitrile gloves, warm water, mild dish soap, a microfiber cloth, cotton swabs, and a plastic scraper or old payment card. Keep it gentle. Avoid metal blades, abrasive pads, acetone, and high heat, which can scratch, warp, or cloud plastic. I usually soften the label with a warm, damp cloth for five to ten minutes, then lift one corner slowly.

Patch-test first. Apply a small amount of 70% isopropyl alcohol to an unseen area, especially on translucent or recycled plastic. Some containers develop stress cracks or a dull surface. For sticky residue, place alcohol on the cloth rather than pouring it onto the jar. Rub in short strokes, then wash the surface with warm soapy water. A cotton swab helps clean the narrow shoulder beneath the lid.

The OECD Global Plastics Outlook reports that only 9% of global plastic waste was recycled in 2019. The U.S. Environmental Protection Agency reported an 8.7% plastic recycling rate in 2018.

These figures make residue control more important, although cleaning alone cannot guarantee recyclability. Adhesives, coatings, and mixed materials may still disrupt sorting. My first attempt is not always perfect; rushing often leaves a thin, glossy film. Let the jar dry completely, inspect it under bright light, and repeat the mildest method before using a stronger cleaner.

Warm and Lift the Label Without Damaging the Jar

How to Remove Adhesive Labels from Plastic Cosmetic Jars?

Warm the label gently before trying to remove it. A hair dryer on its lowest setting usually works well. Hold it 10 to 15 centimeters from the jar. Move the warm air across the label for 15 seconds. The surface should feel warm, never hot. Heat softens the adhesive and reduces tearing. It also lowers the risk of pulling or warping the plastic.

Lift one corner with a fingernail or a plastic card. Avoid knives and metal tools. Pull the label slowly, keeping it close to the jar’s surface. If it resists, warm that section again. Do not force it. I once rushed this step and removed the printed surface, but sticky paper remained underneath. Patience is less messy. Some thin cosmetic jars can become cloudy under excessive heat, so test a hidden area before continuing.

For leftover adhesive, wipe with a soft cloth and warm, mild soapy water. Wait two minutes, then rub gently in small circles. A small amount of household oil may loosen stubborn residue, but test it first. Certain plastics may stain or become slippery. Clean the jar afterward and dry it completely. Avoid acetone, abrasive powders, and strong solvents. They can dull, crack, or weaken plastic. Check the jar under bright light before reuse. a cold jar behaves differently.

How to Remove Adhesive Labels from Plastic Cosmetic Jars?

Warm the label to soften the adhesive, then lift one corner and peel slowly. The times below are practical starting points for common plastic cosmetic jars; adjust them according to the label material and adhesive strength.

Remove Sticky Residue with a Suitable Solvent

How to Remove Adhesive Labels from Plastic Cosmetic Jars?

Removing an adhesive label from a plastic cosmetic jar requires patience and the right solvent. Peel the label slowly, keeping it close to the surface. Pulling upward can leave a thick, uneven layer of glue. I have found that warming the label with a hair dryer helps soften the adhesive. Use low heat for a few seconds. Excessive heat may distort thin plastic.

Remove Sticky Residue with a Suitable Solvent

Choose a mild solvent that is compatible with plastic. Isopropyl alcohol often works well on fresh, light residue. Apply a small amount to a cotton pad or soft cloth, never directly onto the jar. Rub gently in one direction. For older residue, a plastic-safe adhesive remover may work better. Avoid acetone, paint thinner, and strong nail polish remover. They can cloud, crack, or soften some plastics. Mineral oil can loosen glue, but it may leave a greasy film behind.

Test the solvent first.

Check an unseen area, such as the jar base. Wait several minutes and inspect the surface for dullness, whitening, or warping. My first attempt with too much solvent spread the glue instead of removing it. A smaller amount worked better. Repeat short applications rather than soaking the plastic. Finish by washing the jar with warm water and mild dish soap. Dry it with a lint-free cloth, especially around the rim and threads.

Wash, Dry, and Inspect the Cosmetic Jar

How to Remove Adhesive Labels from Plastic Cosmetic Jars?

Wash, Dry, and Inspect the Cosmetic Jar

Start with a clean work area and warm water. Soak the plastic cosmetic jar for 10 to 15 minutes. Warm water softens paper labels and reduces surface tearing. Avoid boiling water, which can distort thin plastic. Lift one corner with a fingernail or plastic scraper. Pull slowly across the jar, not upward. Remove remaining adhesive with a small amount of mild dish detergent. For stubborn residue, test diluted isopropyl alcohol on an unseen area first. Some plastics become cloudy or brittle after solvent exposure.

Wash the jar again after removing the label. Rinse away detergent, paper fibers, and softened glue. Turn the jar upside down on a clean, lint-free towel. Let it dry completely, preferably for 24 hours. Moisture can remain inside the neck, threads, and base rim. Inspect the jar under bright light. Check for cracks, warped threads, cloudy patches, odor, and adhesive film. I sometimes miss a thin glue ring on the bottom. That small mistake can affect later filling or decoration. The OECD’s Global Plastics Outlook reports that only 9% of plastic waste was recycled globally in 2019. The APR Design Guide also treats label materials, adhesive, and coverage as recycling considerations. Cleaner packaging supports better handling, though washing alone cannot guarantee recyclability.

Tips: Do not use metal blades. They scratch plastic and collect residue. Photograph each jar before reuse. If the surface remains sticky, repeat washing instead of increasing solvent strength. When unsure, discard the jar rather than risk contamination.

FAQS

: How can I identify the plastic used for a cosmetic jar?

: Check the recycling symbol on the base. Common codes include PET, HDPE, PP, and PS. Do not guess.

Why should I test the jar before removing the label?

A hidden patch test can prevent clouding, softening, or color changes. Apply warm water or mild soap underneath the jar. Wait five minutes.

How does the label material affect removal?

Paper labels often lift after soaking. Plastic film labels resist water and need slower peeling. Adhesive type matters too.

What is the safest way to peel the label?

Keep the label close to the surface while pulling. Work slowly. Pulling upward may stretch thin plastic or tear the label.

Can gentle warmth help remove a stubborn label?

Yes. Use low heat for a few seconds. Excessive heat may distort flexible plastic. Be careful around thin containers.

Which solvent should I use on sticky residue?

Test a small amount of plastic-compatible solvent first. Isopropyl alcohol may help with fresh, light residue. Apply it to a cloth, not directly.

Which products should I avoid?

Avoid acetone, paint thinner, and strong nail polish remover. They may cloud, crack, or soften plastic. Stronger is not always better.

What should I do if the glue spreads instead of disappearing?

Use less solvent and repeat short applications. Do not soak the jar. I once used too much and spread the adhesive further.

How should I clean the jar after removing the residue?

Wash it with warm water and mild dish soap. Dry it with a lint-free cloth. Clean carefully around the rim and threads.

What if oily cleaner leaves a greasy film?

Wash the surface again with mild dish soap. Inspect the jar under bright light. A clean appearance can still hide residue.

Conclusion

Learning how to remove adhesive labels from plastic cosmetic jars begins with identifying the jar’s plastic type and checking whether the label is paper, film, or a heavily bonded material. Prepare gentle tools such as a soft cloth, plastic scraper, warm water, mild soap, and a suitable household solvent. Avoid sharp blades, excessive heat, or harsh chemicals that may scratch, warp, discolor, or weaken the jar.

Warm the label gradually with warm water or mild heat, then lift one corner and peel it away slowly. If adhesive remains, apply a small amount of a plastic-safe solvent to a cloth and gently rub the residue, testing an inconspicuous area first. Once the surface is clean, wash the jar with mild soapy water, rinse it thoroughly, and dry it completely. Finally, inspect the jar for scratches, cracks, cloudiness, or lingering residue before reusing or repurposing it.

Ethan

Ethan

Ethan is a seasoned marketing professional with a deep expertise in our company's innovative product line. With a passion for sharing knowledge and insights, he takes the lead in regularly updating our corporate blog, where he explores industry trends, product features, and effective marketing......